Mac Setup Instructions
Zscaler
Zscaler is typically already installed on SYF Laptops. If you need to install the Zscaler App, follow these instructions:
1. Ensure you are connected to the Synchrony network via ENGAGE, F5 VPN or wired in a Synchrony business center.
2. Go to the Start Menu and locate the Software Center icon or search for Software Center in the search bar located at the lower left of your screen.
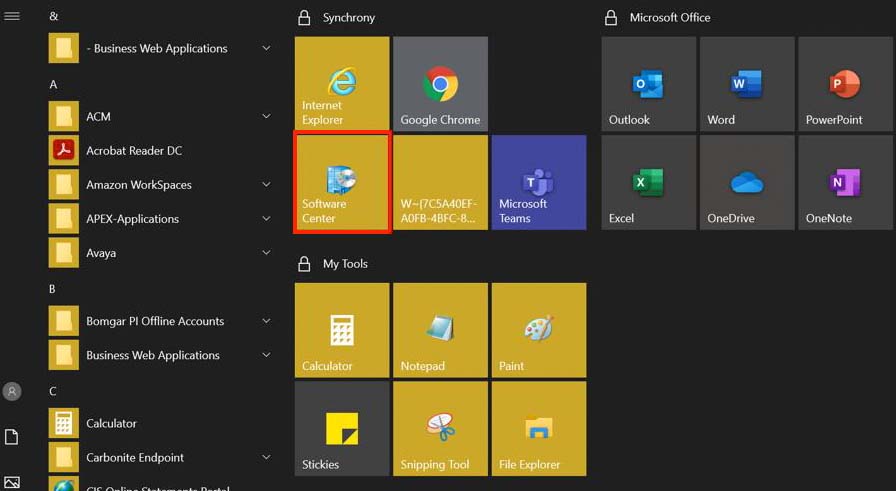
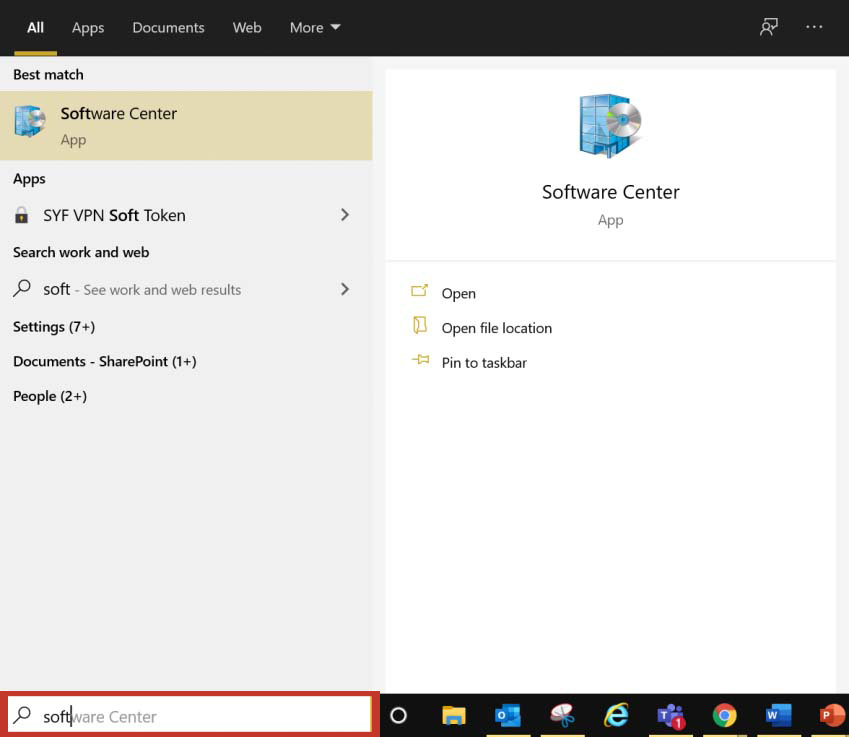
3. In Software Center, ensure Applications is selected on the left and click on Zscaler app.

4. Click on the Install button.

5. When the installation is finished, you should see a small Z cloud symbol on your task bar or hidden icons bar.

6. A login window will appear the first time you launch your Zscaler. Login using your primary Synchrony SSO or email address and your ADSYF password.
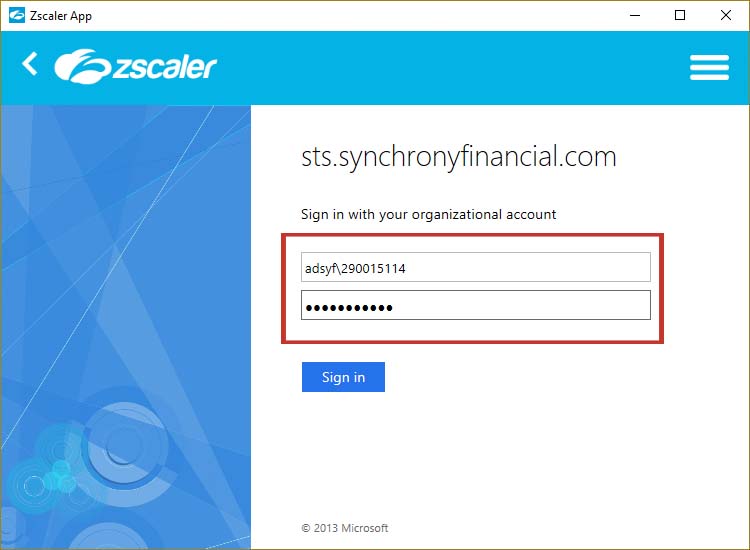
7. If you are using Zscaler for remote access you will see a second login. Login using SSO.

8. You will then receive identity verification screen. Since the Beyond identity is pre-enrolled your identity will be validated with Beyond Identity Passkey.
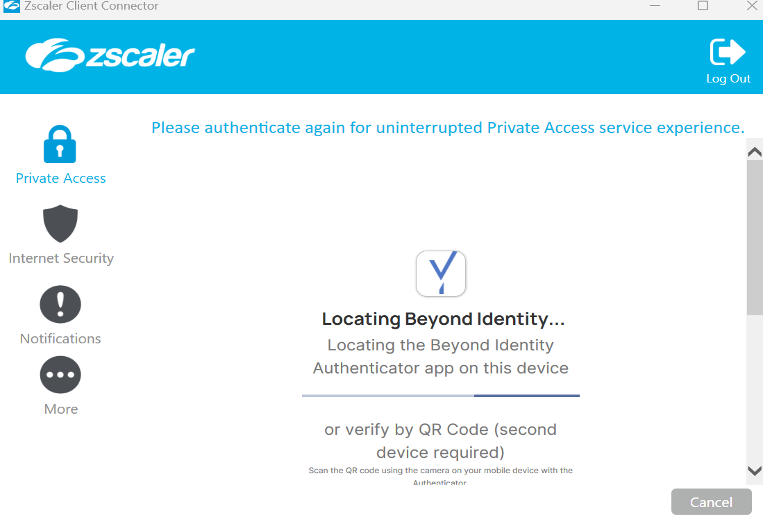
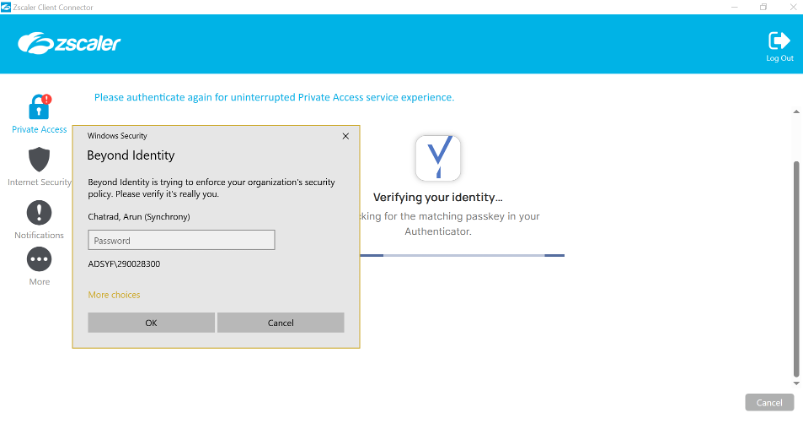
9. When all logins are completed successfully, the window should disappear and the exclamation mark will disappear from the icon.
Note: After authentication, no need to reboot. Close and reopen apps if they are not responding.
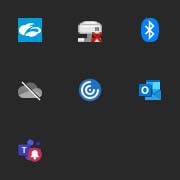
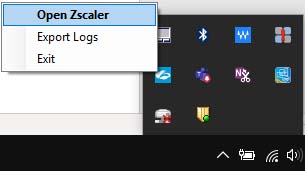
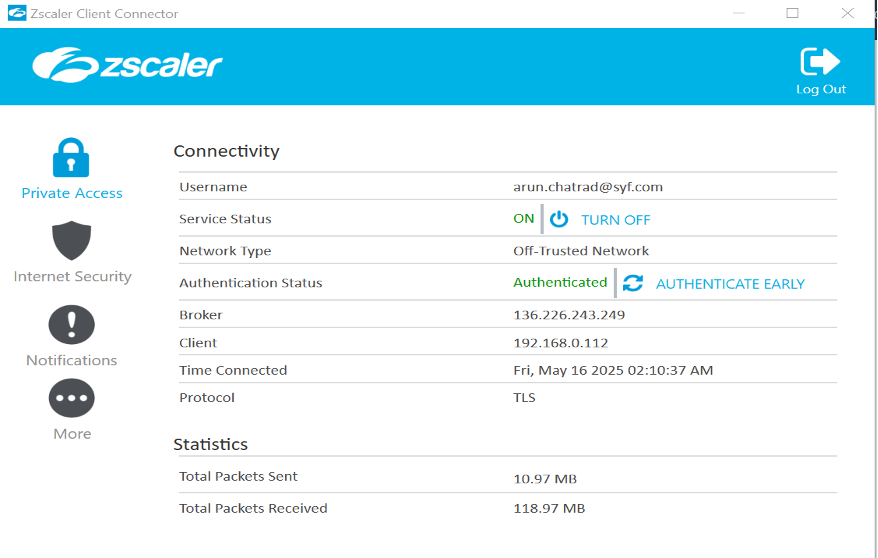
10. To check the status of your connections to the Internet Security and Private Access services:
Right click on the Zscaler app icon in the task bar and select Open Zscaler:
11. The Lock icon shows the status of your connection to internal applications.
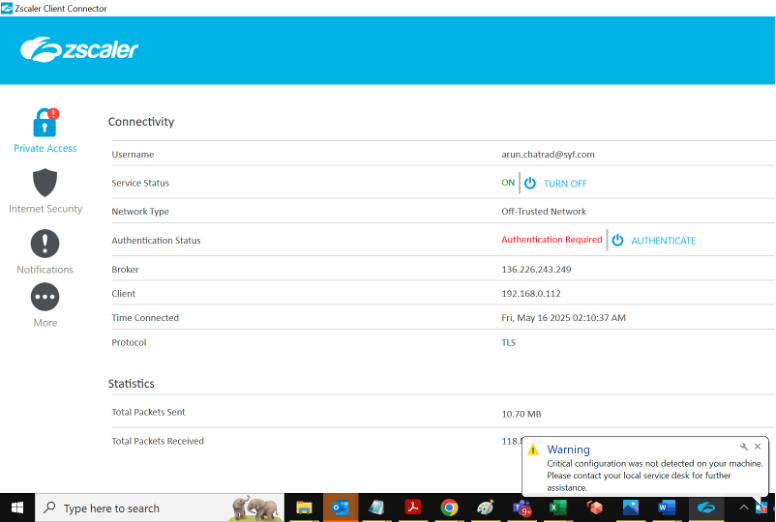
The Authentication Status will show Authenticated in green when connected.

Re-Authenticating in Zscaler
Zscaler authentication will expire after 6 days. When re-authentication is required, you will receive a notice that your access to internal applications has expired and will be required to log in again.
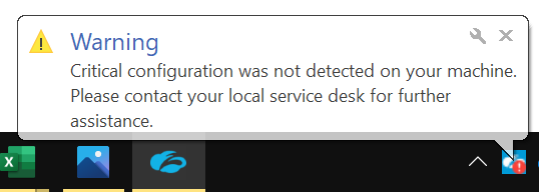
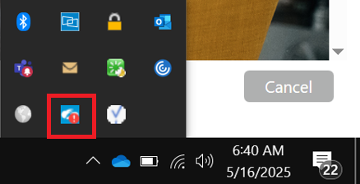
Either click on the notification or right click on the Zscaler app icon and choose Open Zscaler.
You will see an Authenticate option in the Private Access tab.
1. Click on Authenticate and you will be prompted to log in.
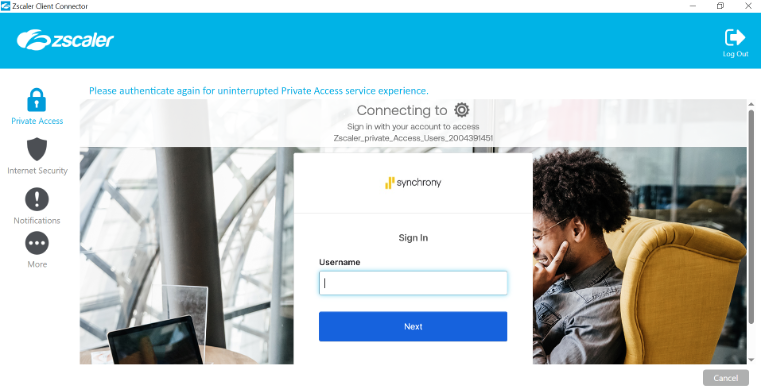
2. Login using SSO and password.
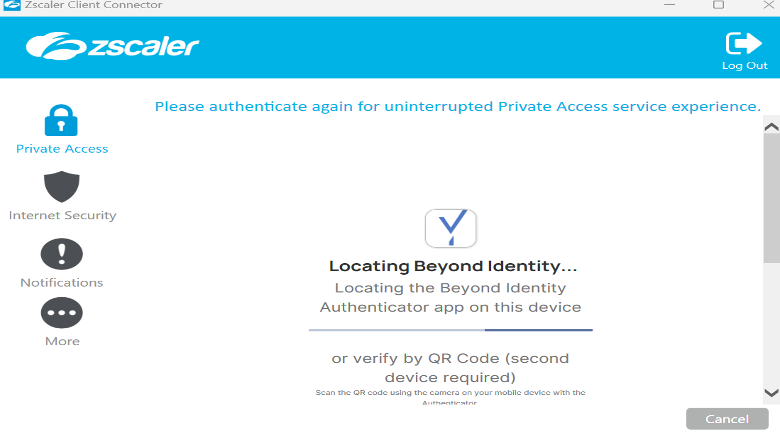
3. Beyond Identity will start verifying user identity.
Note: After authentication, no need to reboot. Close and reopen apps if they are not responding.
3. Beyond Identity will enforce for OS verification as per the Organizations’ security policy, enter your AD password to complete the authentication process.
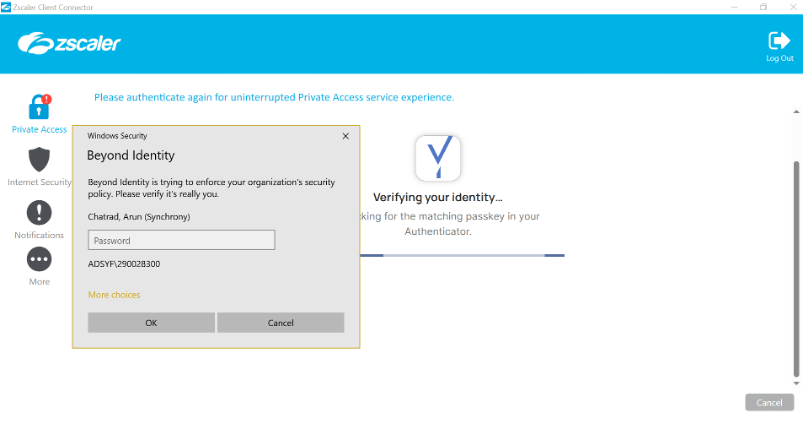
Once identity is verified Authentication status changes to “Authenticated”. No additional actions required.
3 of 10